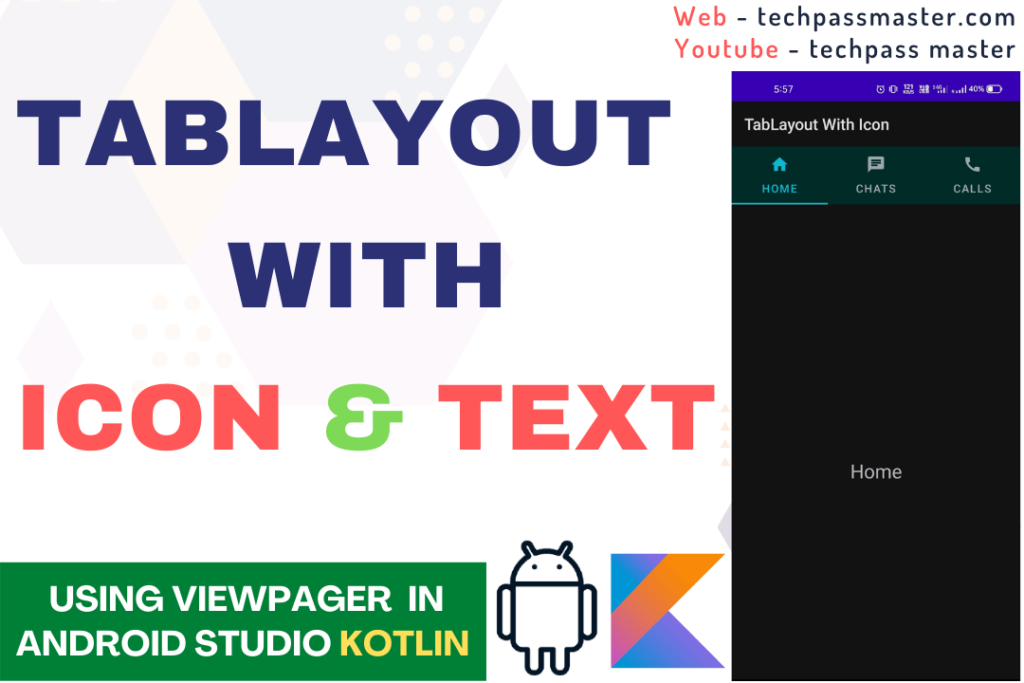
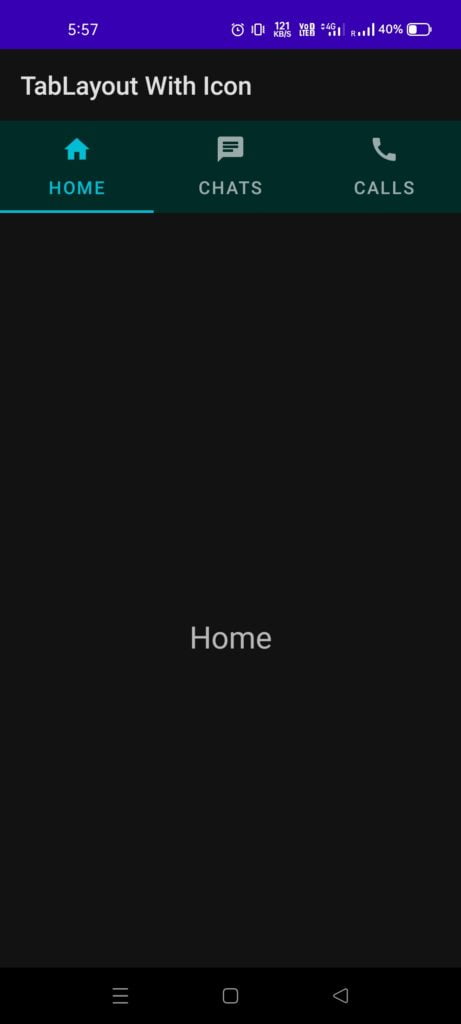
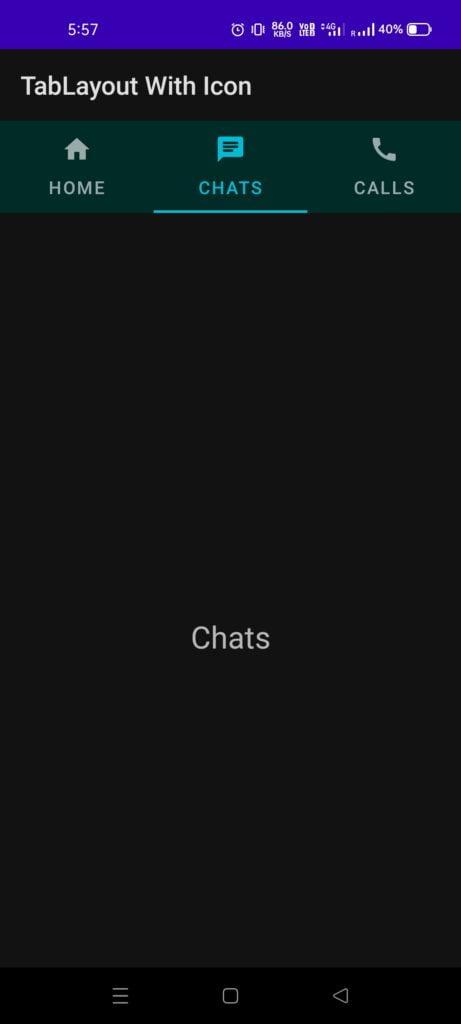
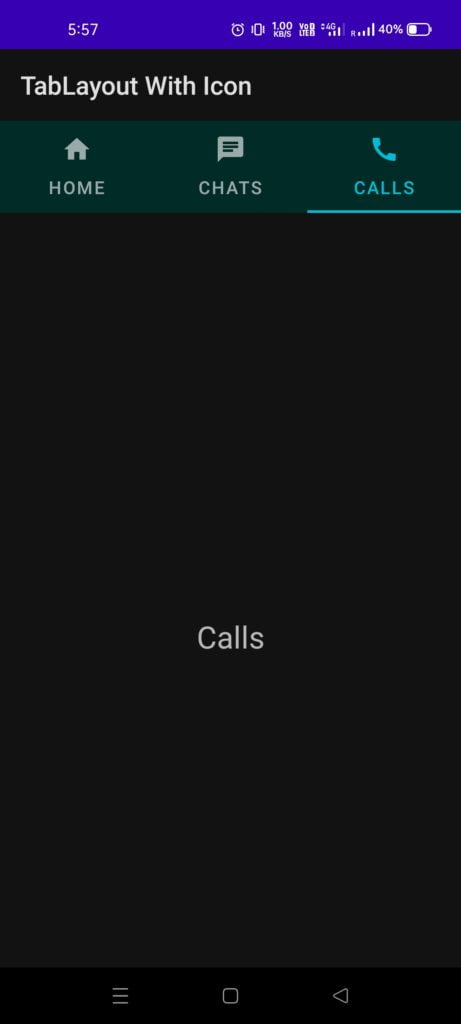
Welcome to Techpass Master, In this post, we are going to use TabLayout with icon and text Android using ViewPager in Android Studio. TabLayout provides us with a horizontal layout to display multiple tabs on a single screen. The process of creating a TabLayout is very simple, you just need to create as many fragments as you want to add tabs. So without any delay let’s start.

Page Contents
TabLayout with icon and text Android
Follow the below steps:
Step 1: First, Create A New Project
- Open Android Studio.
- Create a new project.
- Filling in the project details.
- Click on finish, and now your project is successfully created.
Step 2: Create Fragments
Now, we will create fragments for tabs. Fragments depend on that how many tabs you want to create, here will be creating 3 tabs, for that, we will create 3 fragments:
- Home Fragment
- Chats Fragment
- Calls Fragment
Let’s create fragments one by one. First, we will create Home Fragment:
Goto app >> java >> right click on package name (com.techpassmaster.tablayoutwithicon) >> new >> fragment >> now select fragment (Blank) >> Enter fragment name >> click finish.
1. Home Fragment
Home Fragment.kt
package com.techpassmaster.tablayoutwithicon.fragment

import androidx.fragment.app.Fragment
import android.os.Bundle
import android.view.LayoutInflater
import android.view.View
import android.view.ViewGroup
import com.techpassmaster.tablayoutwithicon.R

class HomeFragment : Fragment() {

    override fun onCreateView(
        inflater: LayoutInflater, container: ViewGroup?,
        savedInstanceState: Bundle?,
    ): View? {
        // Inflate the layout for this fragment
        return inflater.inflate(R.layout.fragment_home, container, false)
    }

}
Now create a home fragment XML file.
fragment_home.xml
<?xml version="1.0" encoding="utf-8"?>
<FrameLayout xmlns:android="http://schemas.android.com/apk/res/android"
    android:layout_width="match_parent"
    android:layout_height="match_parent">

    <TextView
        android:layout_width="match_parent"
        android:layout_height="match_parent"
        android:gravity="center"
        android:text="Home"
        android:textSize="24sp" />
</FrameLayout>
2. Chats Fragment
Chats Fragment.kt
package com.techpassmaster.tablayoutwithicon.fragment

import androidx.fragment.app.Fragment
import android.os.Bundle
import android.view.LayoutInflater
import android.view.View
import android.view.ViewGroup
import com.techpassmaster.tablayoutwithicon.R

class ChatsFragment : Fragment() {

    override fun onCreateView(
        inflater: LayoutInflater, container: ViewGroup?,
        savedInstanceState: Bundle?,
    ): View? {
        // Inflate the layout for this fragment
        return inflater.inflate(R.layout.fragment_chats, container, false)
    }

}
fragment_chats.xml
<?xml version="1.0" encoding="utf-8"?>
<FrameLayout xmlns:android="http://schemas.android.com/apk/res/android"
    android:layout_width="match_parent"
    android:layout_height="match_parent">

    <TextView
        android:layout_width="match_parent"
        android:layout_height="match_parent"
        android:gravity="center"
        android:text="Chats"
        android:textSize="24sp" />
</FrameLayout>
3. Calls Fragment
Calls Fragment.kt
package com.techpassmaster.tablayoutwithicon.fragment

import android.os.Bundle
import androidx.fragment.app.Fragment
import android.view.LayoutInflater
import android.view.View
import android.view.ViewGroup
import com.techpassmaster.tablayoutwithicon.R

class CallsFragment : Fragment() {

    override fun onCreateView(
        inflater: LayoutInflater, container: ViewGroup?,
        savedInstanceState: Bundle?,
    ): View? {
        // Inflate the layout for this fragment
        return inflater.inflate(R.layout.fragment_calls, container, false)
    }

}
fagment_calls.xml
<?xml version="1.0" encoding="utf-8"?>
<FrameLayout xmlns:android="http://schemas.android.com/apk/res/android"
    android:layout_width="match_parent"
    android:layout_height="match_parent">

    <TextView
        android:layout_width="match_parent"
        android:layout_height="match_parent"
        android:gravity="center"
        android:text="Calls"
        android:textSize="24sp" />
</FrameLayout>
Step 3: Create Adapter
Now we will create an adapter, this adapter class will extend FragmentPagerAdapter for ViewPager, which is responsible to handle the order of tabs and we have to override the two most important methods which are called getItem and getCount.
Add the following code in TabsAdapter.kt
package com.techpassmaster.tablayoutwithicon

import android.content.Context
import androidx.fragment.app.Fragment
import androidx.fragment.app.FragmentManager
import androidx.fragment.app.FragmentPagerAdapter
import com.techpassmaster.tablayoutwithicon.fragment.CallsFragment
import com.techpassmaster.tablayoutwithicon.fragment.ChatsFragment
import com.techpassmaster.tablayoutwithicon.fragment.HomeFragment

@Suppress("DEPRECATION")
internal class TabsAdapter(
    var context: Context,
    fm: FragmentManager,
    var totalTabs: Int,
) :
    FragmentPagerAdapter(fm) {


    override fun getItem(position: Int): Fragment {
        return when (position) {
            0 -> {
                HomeFragment()
            }
            1 -> {
                ChatsFragment()
            }
            2 -> {
                CallsFragment()
            }
            else -> getItem(position)
        }
    }

    override fun getCount(): Int {
        return totalTabs
    }
}
Step 4: Setup tabs in Main Activity
This is the final step, just you have to add the following code in MainActicity.kt and activity_main.xml.
Add the following code to res/layout/activity_main.xml.
activity_main.xml
<?xml version="1.0" encoding="utf-8"?>
<androidx.constraintlayout.widget.ConstraintLayout xmlns:android="http://schemas.android.com/apk/res/android"
    xmlns:app="http://schemas.android.com/apk/res-auto"
    xmlns:tools="http://schemas.android.com/tools"
    android:layout_width="match_parent"
    android:layout_height="match_parent"
    tools:context=".MainActivity">

    <com.google.android.material.tabs.TabLayout
        android:id="@+id/tabLayout"
        android:layout_width="match_parent"
        android:layout_height="wrap_content"
        android:background="#012B26"
        app:layout_constraintEnd_toEndOf="parent"
        app:layout_constraintStart_toStartOf="parent"
        app:layout_constraintTop_toTopOf="parent" />

    <androidx.viewpager.widget.ViewPager
        android:id="@+id/viewPager"
        android:layout_width="wrap_content"
        android:layout_height="wrap_content"
        android:layout_centerHorizontal="true"
        app:layout_constraintStart_toStartOf="parent"
        app:layout_constraintTop_toBottomOf="@+id/tabLayout" />
</androidx.constraintlayout.widget.ConstraintLayout>
Add the following code to MainActivity.kt
MainActivity.kt
package com.techpassmaster.tablayoutwithicon

import android.os.Bundle
import androidx.appcompat.app.AppCompatActivity
import androidx.viewpager.widget.ViewPager
import com.google.android.material.tabs.TabLayout
import com.google.android.material.tabs.TabLayout.OnTabSelectedListener
import com.google.android.material.tabs.TabLayout.TabLayoutOnPageChangeListener

class MainActivity : AppCompatActivity() {
    lateinit var tabLayout: TabLayout
    lateinit var viewPager: ViewPager

    override fun onCreate(savedInstanceState: Bundle?) {
        super.onCreate(savedInstanceState)
        setContentView(R.layout.activity_main)

        tabLayout = findViewById(R.id.tabLayout)
        viewPager = findViewById(R.id.viewPager)

        tabLayout.addTab(tabLayout.newTab().setText("Home").setIcon(R.drawable.ic_home_24))
        tabLayout.addTab(tabLayout.newTab().setText("Chats").setIcon(R.drawable.ic_chat_24))
        tabLayout.addTab(tabLayout.newTab().setText("Calls").setIcon(R.drawable.ic_call_24))

        tabLayout.tabGravity = TabLayout.GRAVITY_FILL

        val adapter = TabsAdapter(this, supportFragmentManager,
            tabLayout.tabCount)

        viewPager.adapter = adapter
        viewPager.addOnPageChangeListener(TabLayoutOnPageChangeListener(tabLayout))

        tabLayout.addOnTabSelectedListener(object : OnTabSelectedListener {
            override fun onTabSelected(tab: TabLayout.Tab) {
                viewPager.currentItem = tab.position
            }

            override fun onTabUnselected(tab: TabLayout.Tab) {}
            override fun onTabReselected(tab: TabLayout.Tab) {}
        })
    }
}
Congratulations, all steps are done, now let’s run the application.


Recommended Reading:
- 15 Best Useful Sites For Online Learning.
- What Is Kotlin In Android?
- How To Make An Android App For Beginners
- Android Interview Questions For Fresher.
I hope you liked the post. If you have any questions regarding this post. Feel free to comment and share the post with your friends.
Happy Learning!!!
