Welcome to the first part of this quiz app series. In this post, we are going to learn how to make a simple app icon for our app. We can use this icon within 3 places:
- App launcher.
- Inside app.
- Google play store.
Now let’s start and follow step by step.
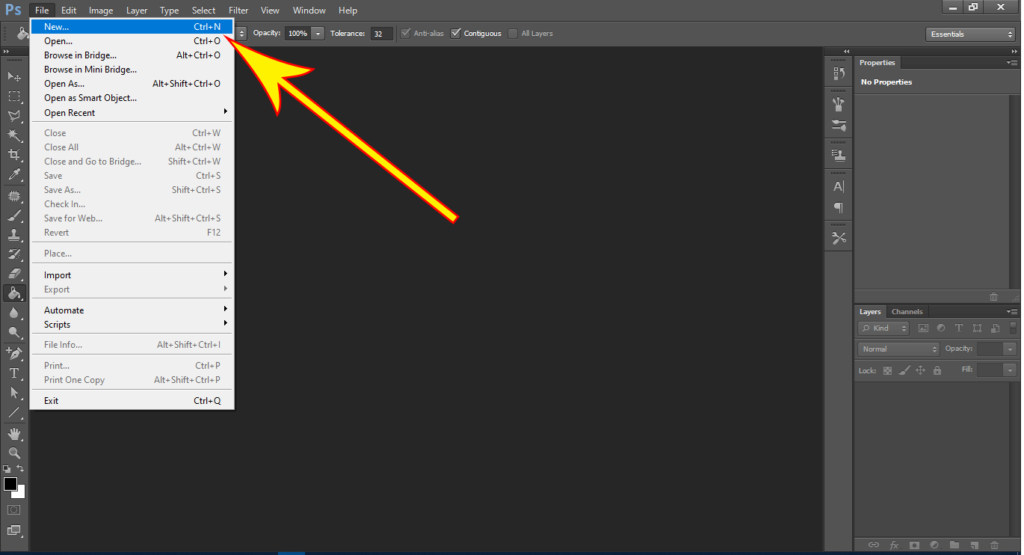
Step 1. Open photoshop go to the menu bar and select new or press Ctrl+N.
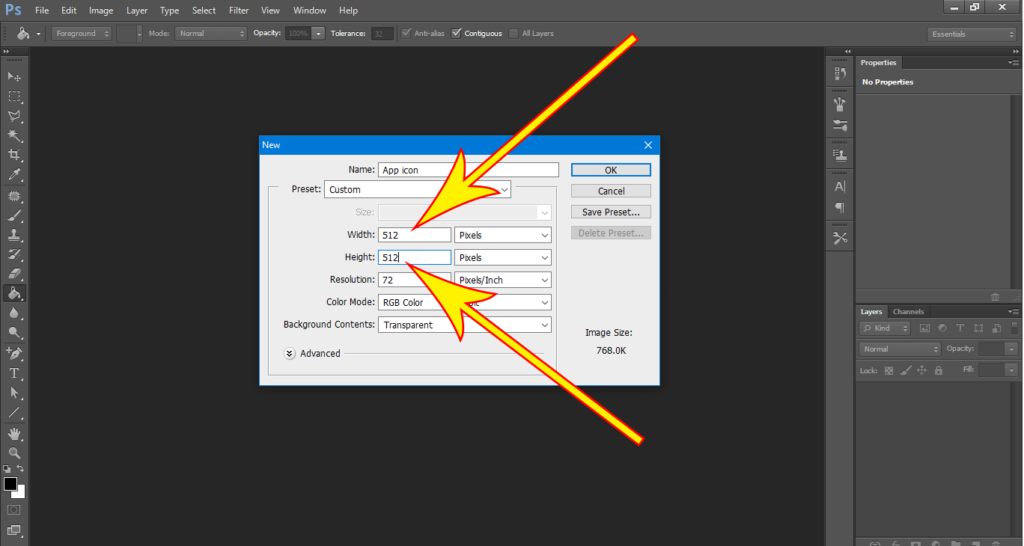
Step 2. As you will see in the new window. Now give the play store recommended size width 512px * height 512px and click OK.
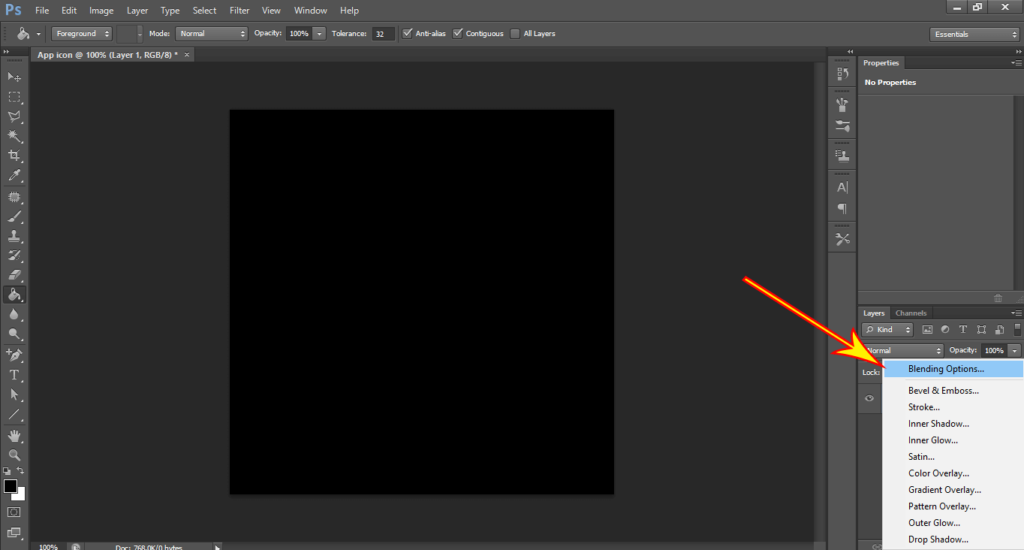
Step 3. Select the paint bucket tool from the toolbar and fill any color in a new blank document.
![How to make a simple app icon [Step By Step]](http://techpassmaster.com/wp-content/uploads/2020/06/3-1024x559.png)
Step 4. Click to add a new layer style and click on blending options.
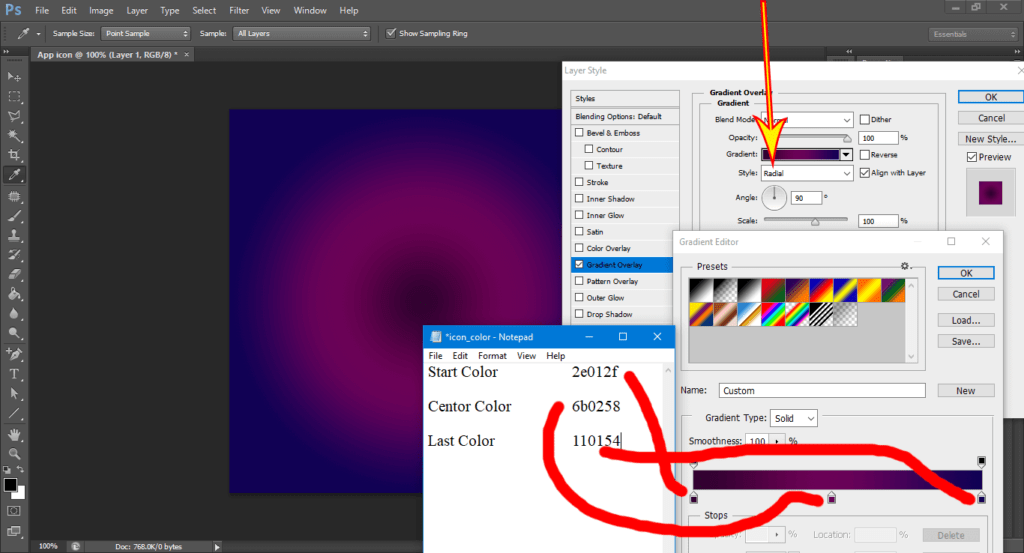
Step 5. After clicking on blending options, you will see the new layer style window. Now we will fill gradient redial color, for that we have to select gradient overlay.
![How to make a simple app icon [Step By Step]](http://techpassmaster.com/wp-content/uploads/2020/06/5-1024x555.png)
Step 6. New gradient overlay window setting. Follow the setting in the given below image.
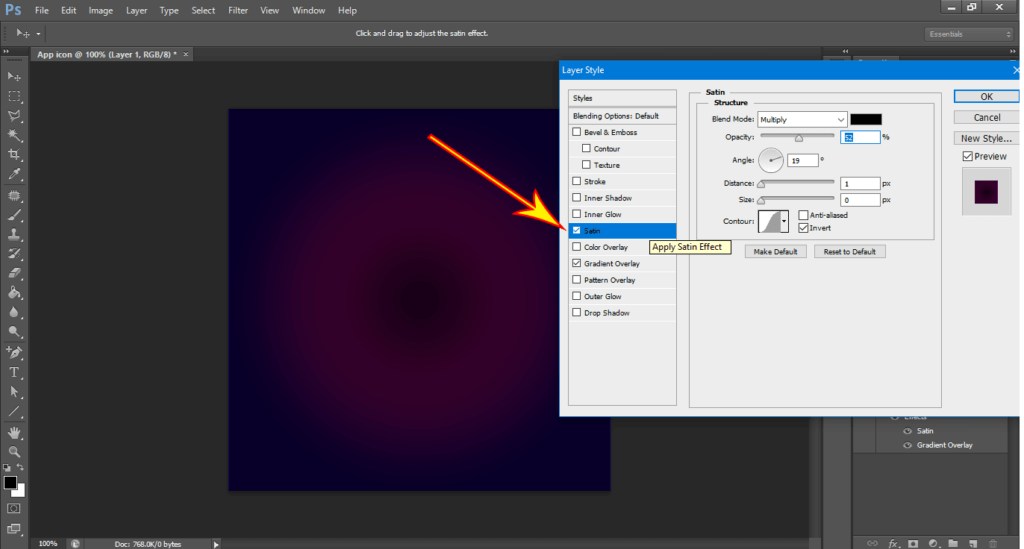
Step 7. Select the stain color. Follow stain setting in the given below image.
Step 8. Pick the rounded shape.
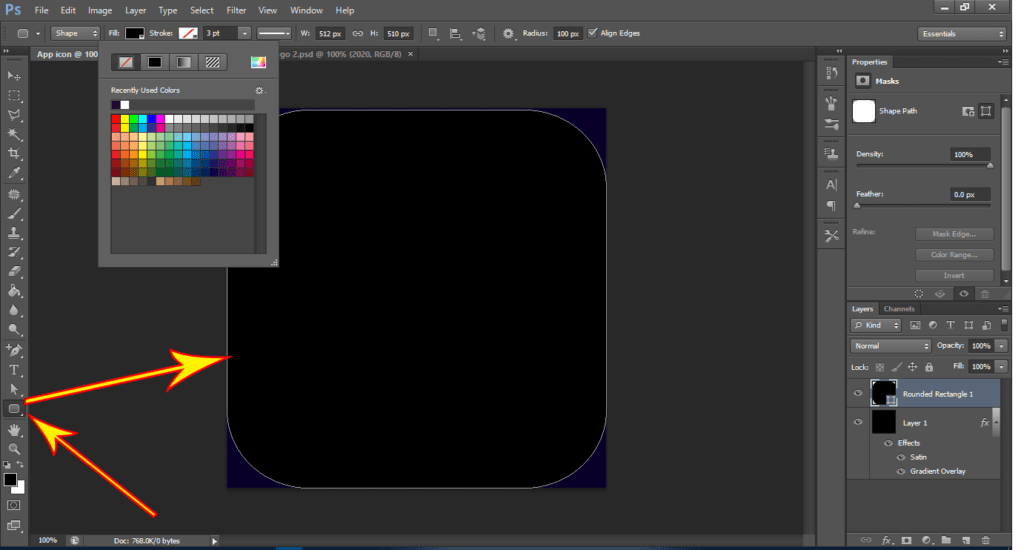
Step 9. Drag shape up to down.
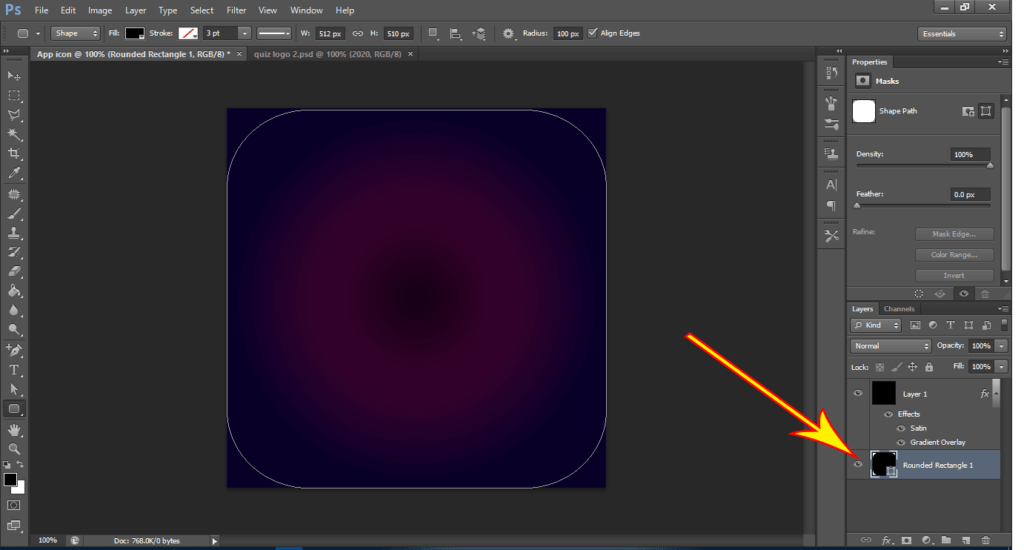
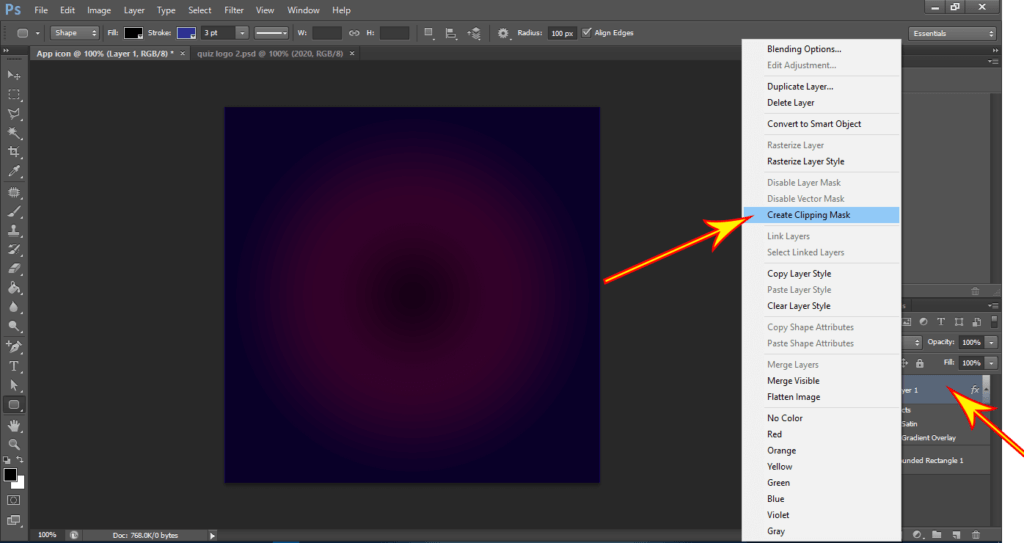
Step 10. Right-click on the first layer and select (Create Clipping Mask).
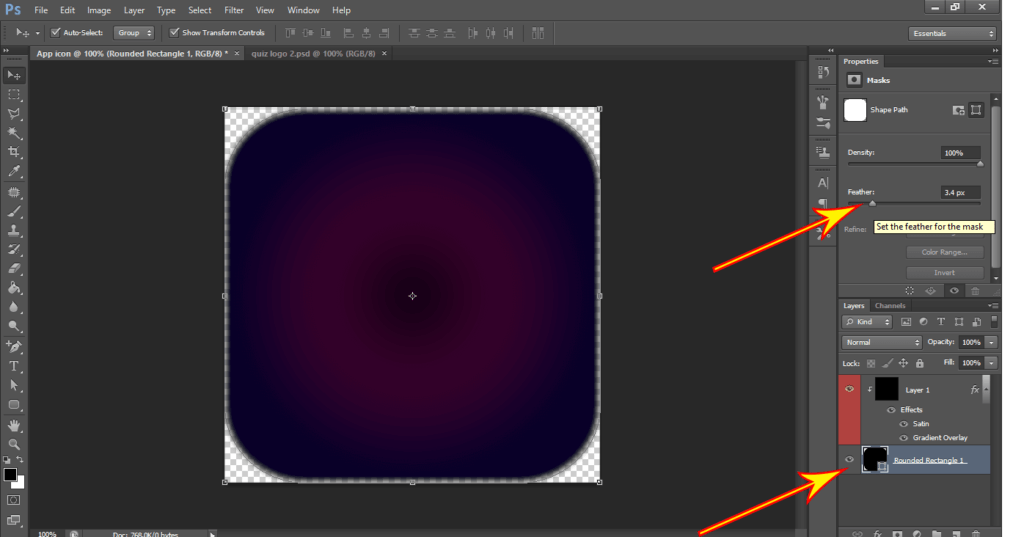
Step 11- Right-click of rounded shape layer and increase feather.
Step 12. Select text from the toolbar to write text.
![How to make a simple app icon [Step By Step]](http://techpassmaster.com/wp-content/uploads/2020/06/12-1024x541.png)
Step 13. Select the next text and give some shadow settings.

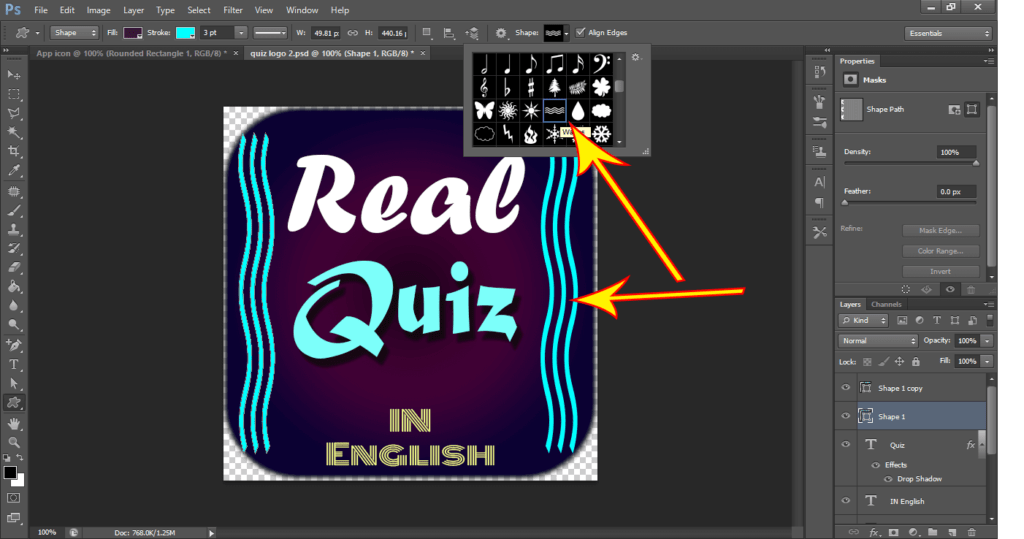
Step 14. Select wave shape for extra design.
Step 15. Select the last shape for the icon.

Step 16. Save this icon in a .png format. As well as save this icon as a .PSD format for the re-change in the future.
Read More:- How To Make An Android App For Beginners.
I hope you liked the post. If you have any questions regarding this post. Feel free to comment and share the post with your friends.
Happy Learning!!! 🙂