Hello Developer, In this post, we will learn, How to Install Java JDK on Windows 11. The Android developers mostly used Java programming languages to build Android apps. If we want to use Java tools or functionality.
So for that, we need to download and install Java Development Kit (JDK) is a distribution of Java Technology by Oracle Corporation.
It implements the Java Language Specification and the Java Virtual Machine Specification and provides the Standard Edition of the Java Application Programming Interface, so without any further discussion let’s start.
Page Contents
How to Install Java JDK on Windows 11
Before installing the Android SDK, you need to install the JDK (Java Development Kit). if you want to verify the Java version then go running (start button+R) and open CMD after typing”javac –version“.
Install JAVA JDK
The Java Development Kit (JDK), officially called “Java SE“, is needed for writing Java programs. The JDK is freely available from Sun Microsystems, now it is part of Oracle. check it– http://www.oracle.com/technetwork/java/javase/overview/index.html.
Uninstall Older Version(s) of JDK/JRE
- Install only the newest Java JDK.
- If you have installed the older versions of JDK/JRE, uninstall all of them.
- Go to Control Panel >> “Programs” >> Select Programs and Features” >> Un-install ALL programs beginning with “Java”, like “Java SE Development Kit, etc.
Step 1: Download JDK
- Goto Java SE download site http://www.oracle.com/technetwork/java/javase/downloads/index.html.
- Click the “Oracle JDK Download” button.
- Check “Accept License Agreement”.
- Choose the JDK as per your system requirement.
Step 2: Install JDK
- Double-click on download to set up and Run.
- By default, JDK is installed in the directory “
C:\Program Files\Java\jdk-13.0.“, Accept the defaults.
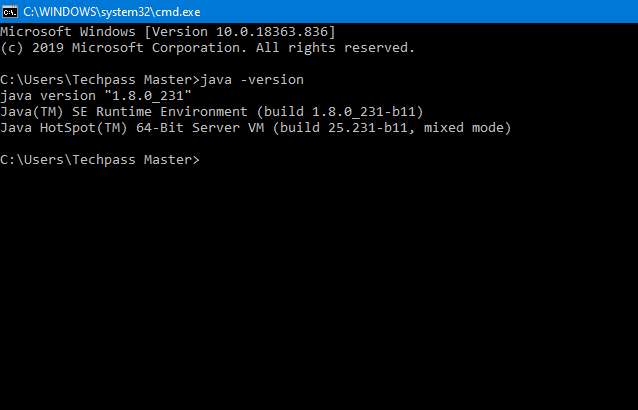
Step 3: Verify the JDK Installation
Open a CMD via the following steps:
Click the Search button and Type “cmd” ⇒ Choose “Command Prompt”, or Right-click the “Start” button ⇒ run ⇒ enter “cmd”.
The following commands are to verify that JDK/JRE is properly installed and display their version.


Congratulations all setup is done now you can use JAVA functionality 🙂
Warp Up
This wraps up this short blog post

It shows your passion for Android development! Hopefully, you found this blog post helpful! If you liked this article, you can check out my other articles. As always, I would like to thank you for taking the time to read this article :). I wish you the best of luck! Happy coding! Cheers!
