Firebase is Google’s mobile application development platform that helps you build, improve, and grow your app. In this article, we will Getting started with Firebase on Android by building a simple app. So without any further, discuss let’s get start with Firebase on Android.
Getting started with Firebase on Android
Step 1. Install Android Studio, Java JDK, and set up Android SDK with the latest version.
Step 2. Create a new Firebase demo project.
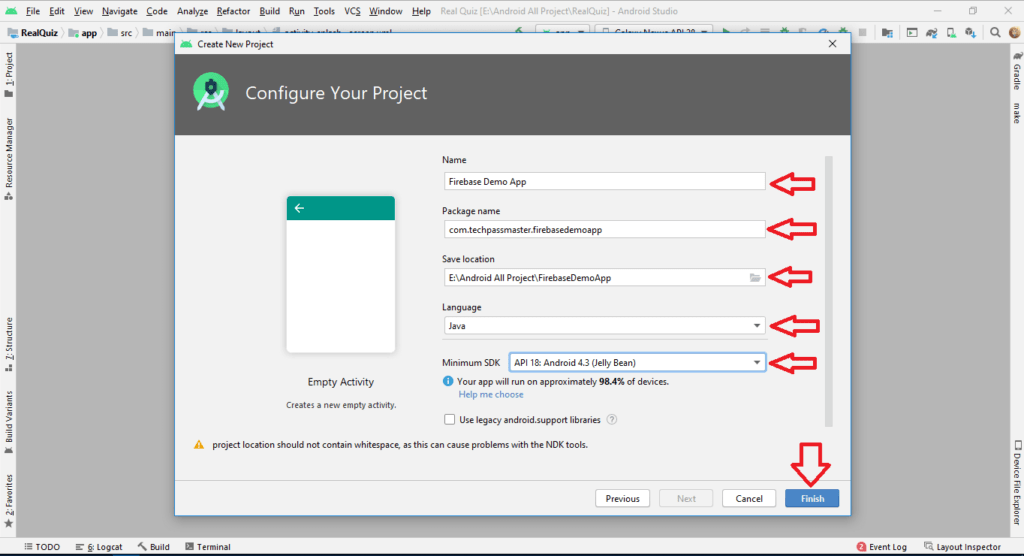
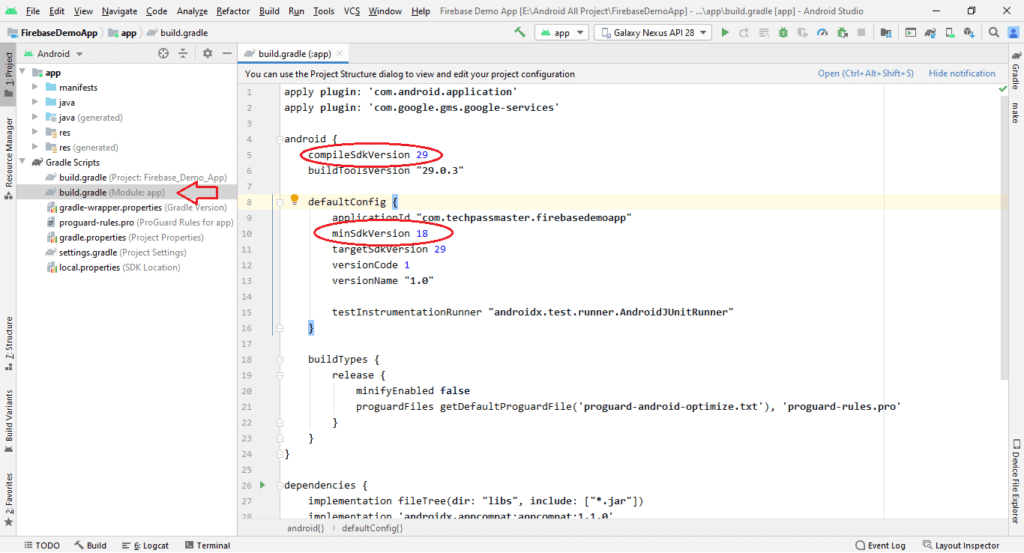
Step 3. Before adding Firebase to the project. Make sure that your project follows this thing:
- Targets API level 16 (Jelly Bean) or later & compile SDK Version 28 or later.
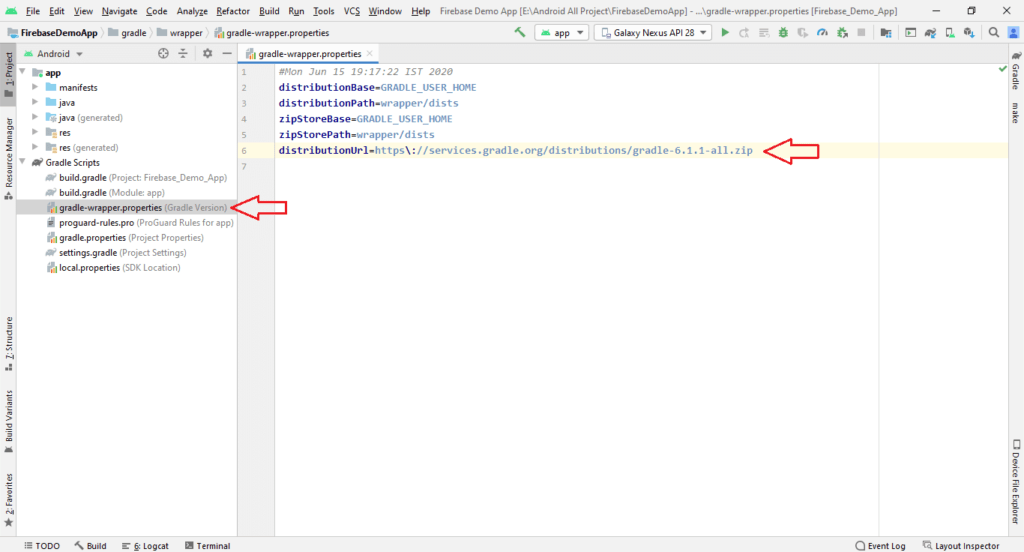
- Uses Gradle 4.1 or later.
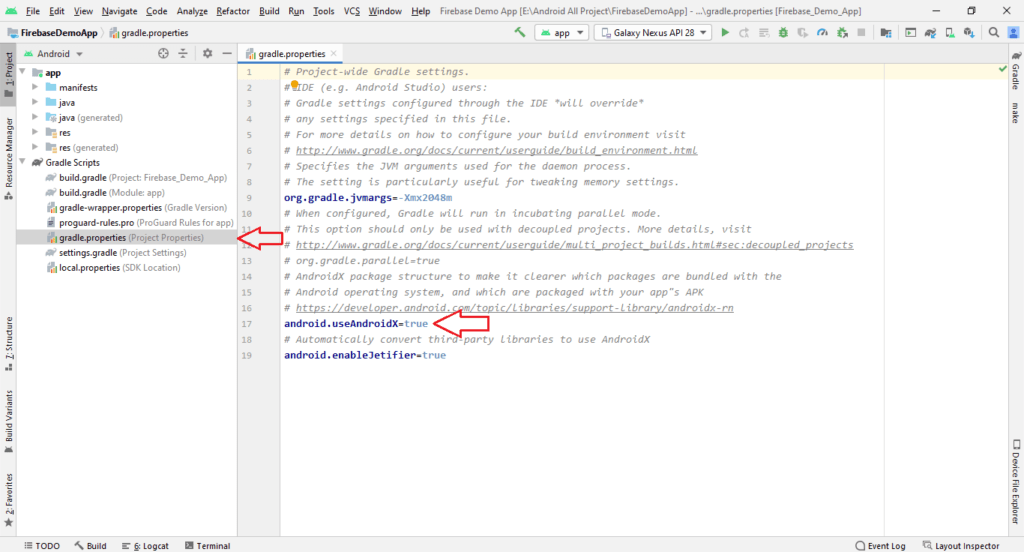
- Uses Jetpack (AndroidX).
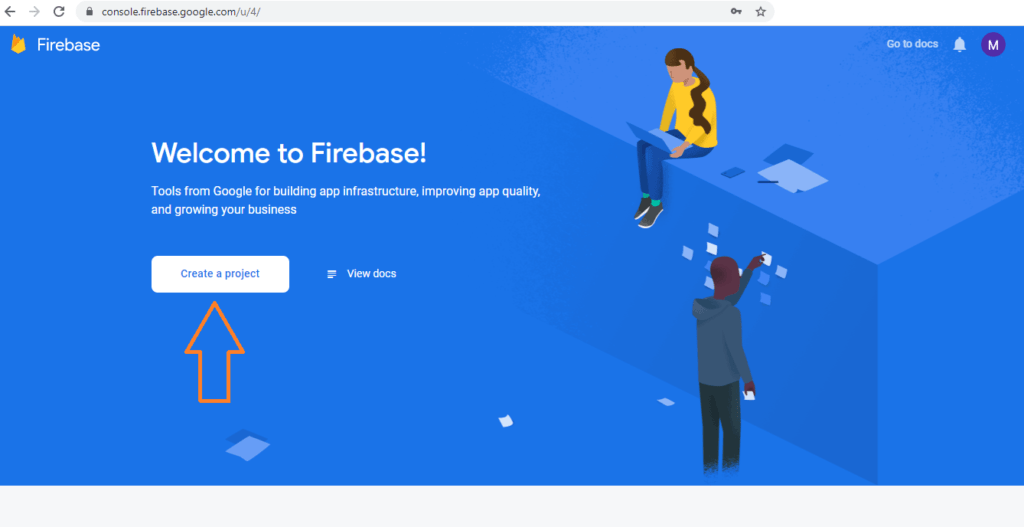
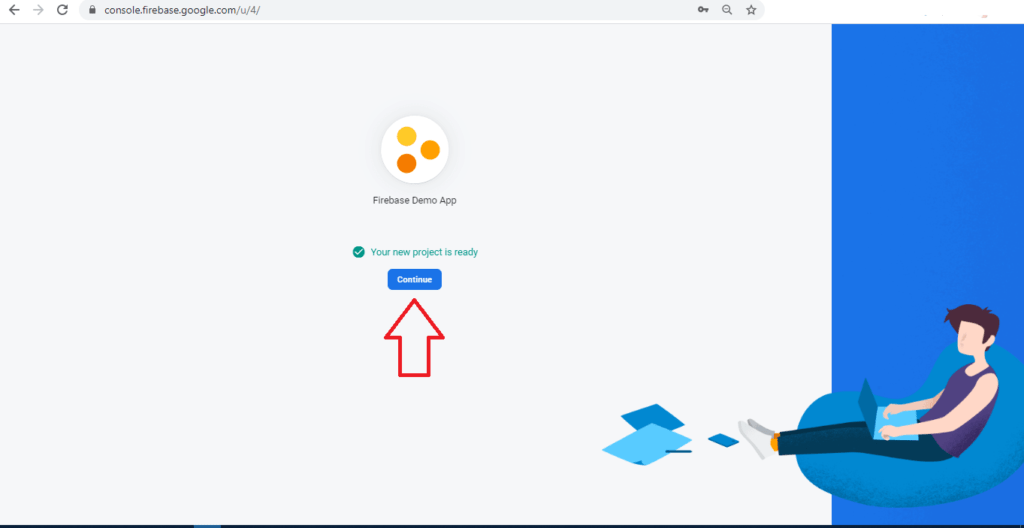
Step 4. After Creating a new demo project then Sign up for Firebase using your google account.
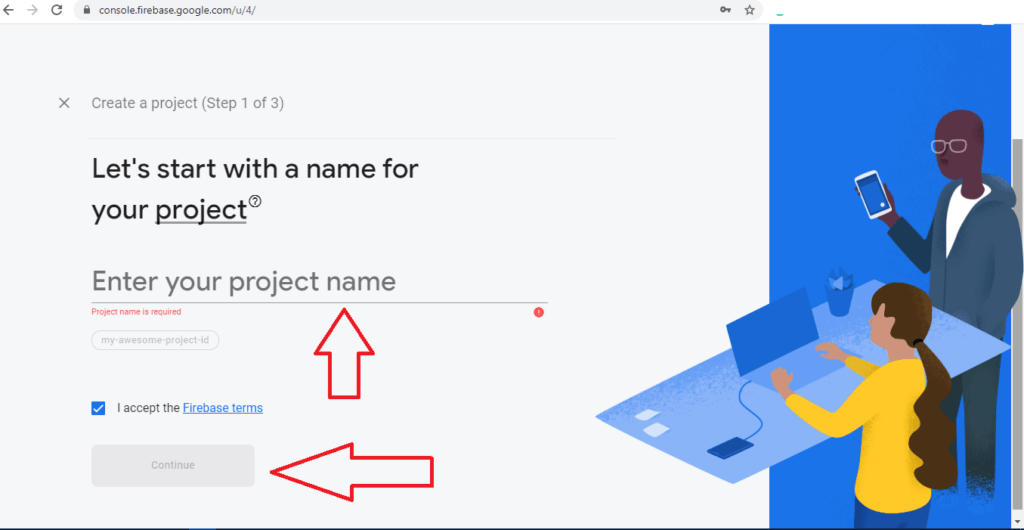
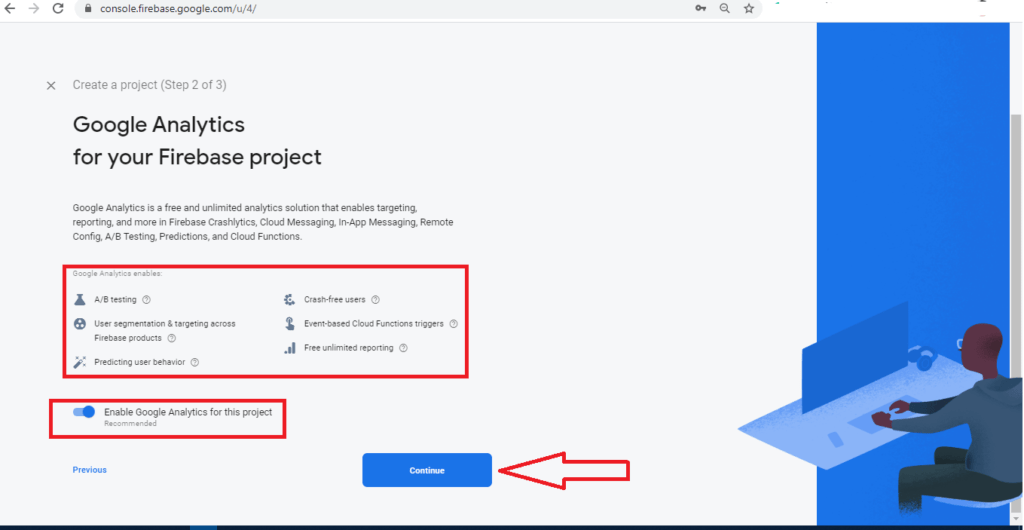
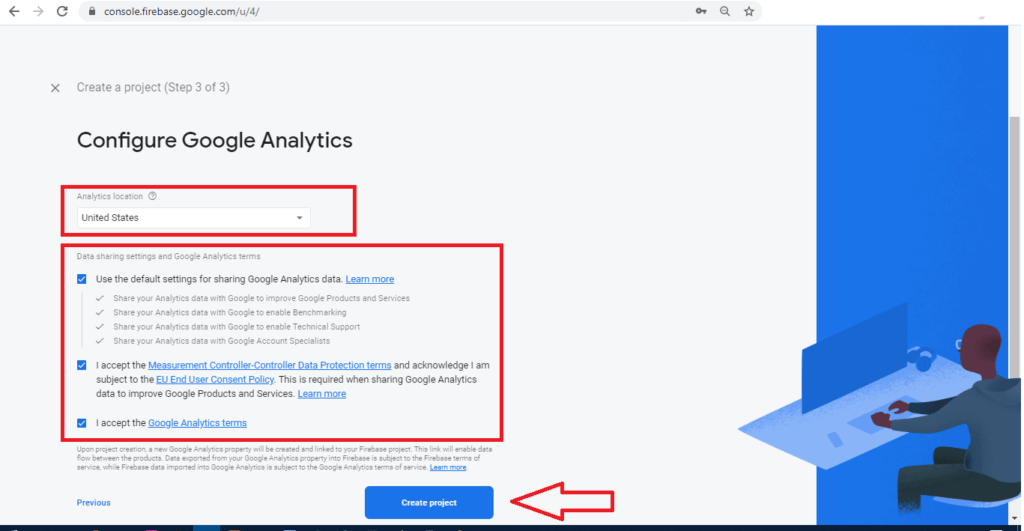
Step 5. Create a Firebase project (Steps 1 to 3)
Step 6. Add Firebase to your Android App.

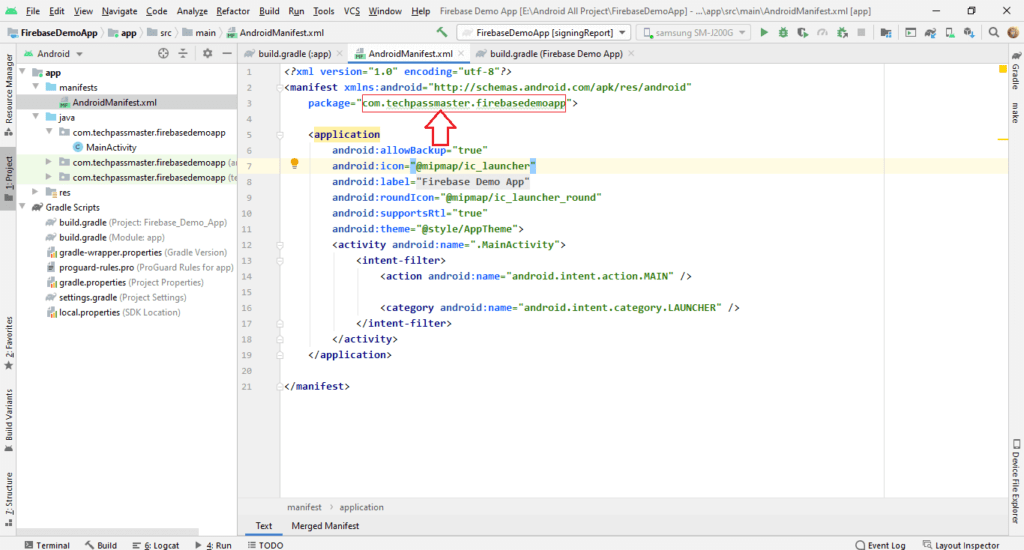
- Enter your project package name, nick name & signing certificate SHA-1.
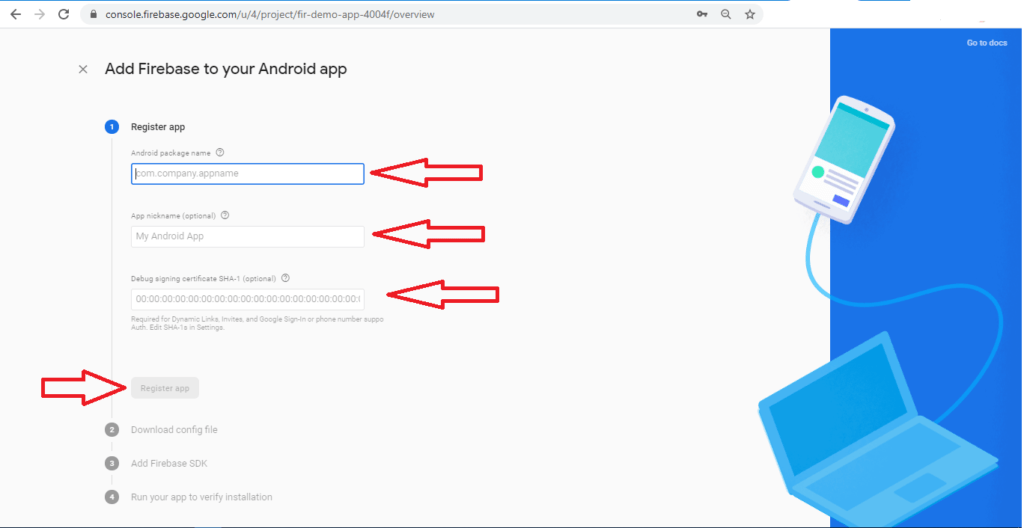
- Copy package name from Android Studio.
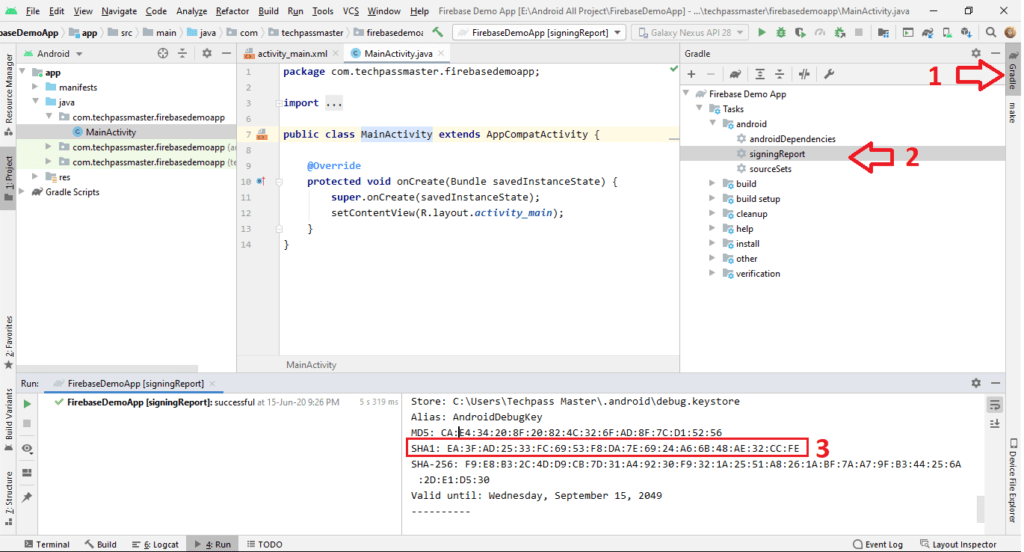
- Enter Debug signing certificate SHA-1 (optional).
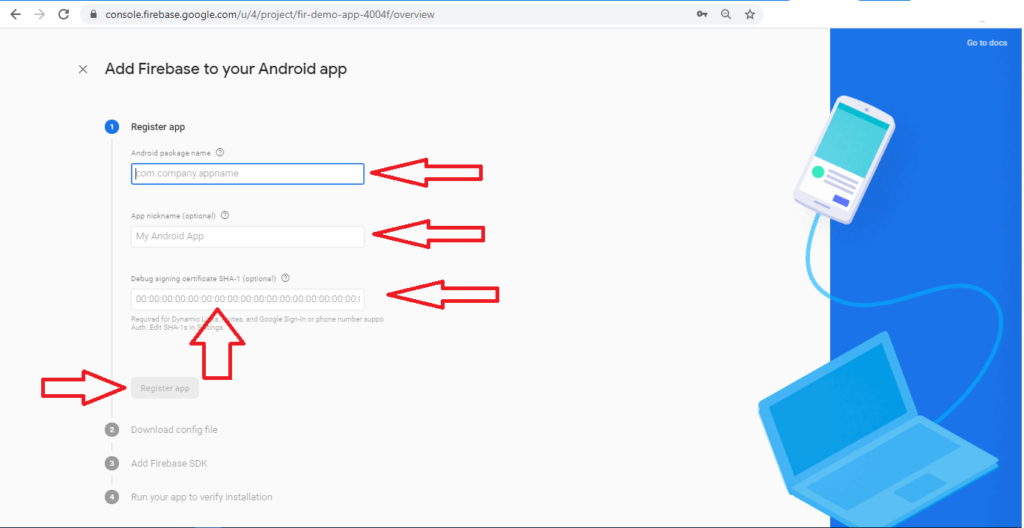
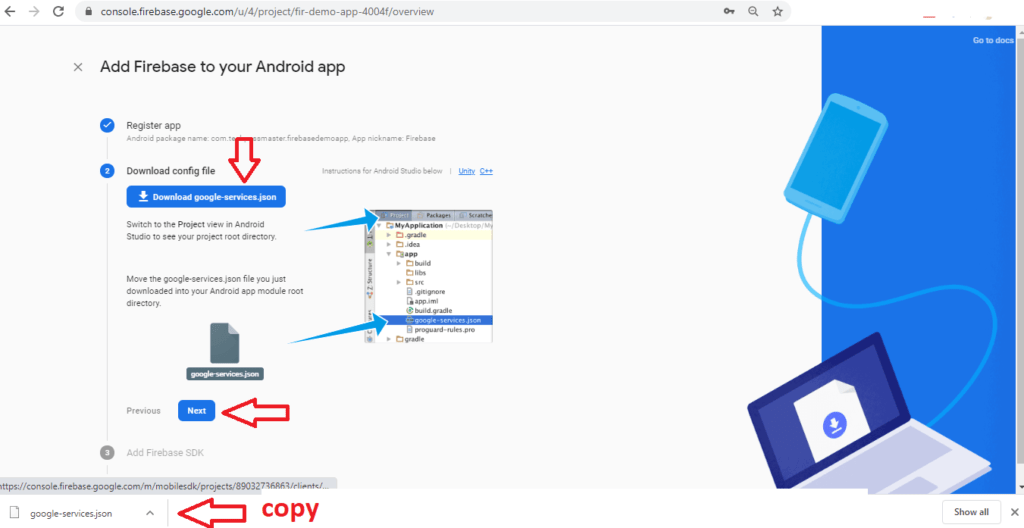
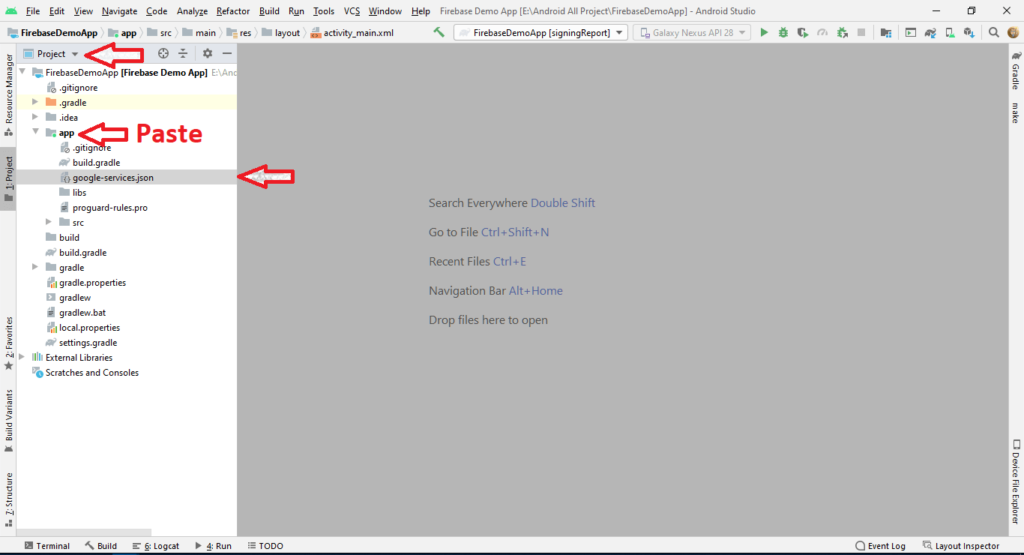
Step 7. Click Register App and download config file and copy downloaded google-service.json and Paste in the firebase.
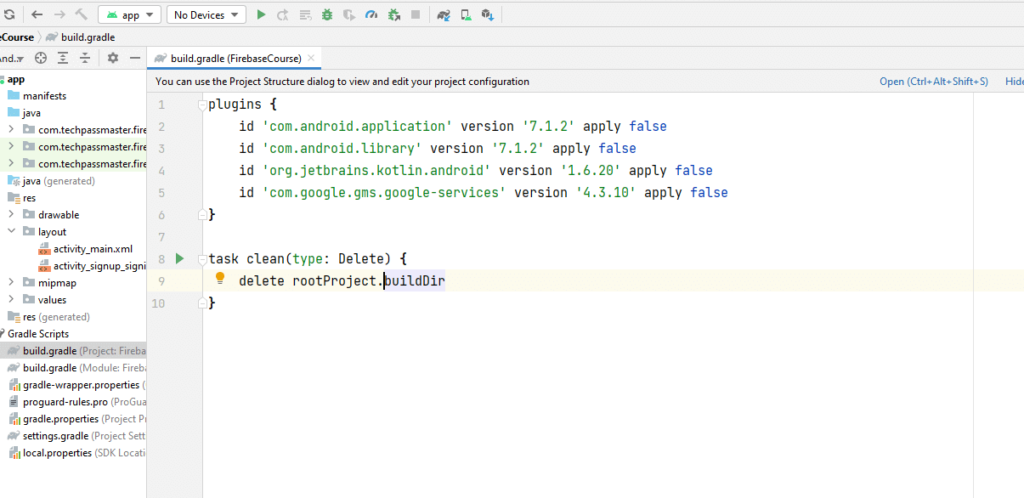
Step 8. Add classpath on project dependencies.
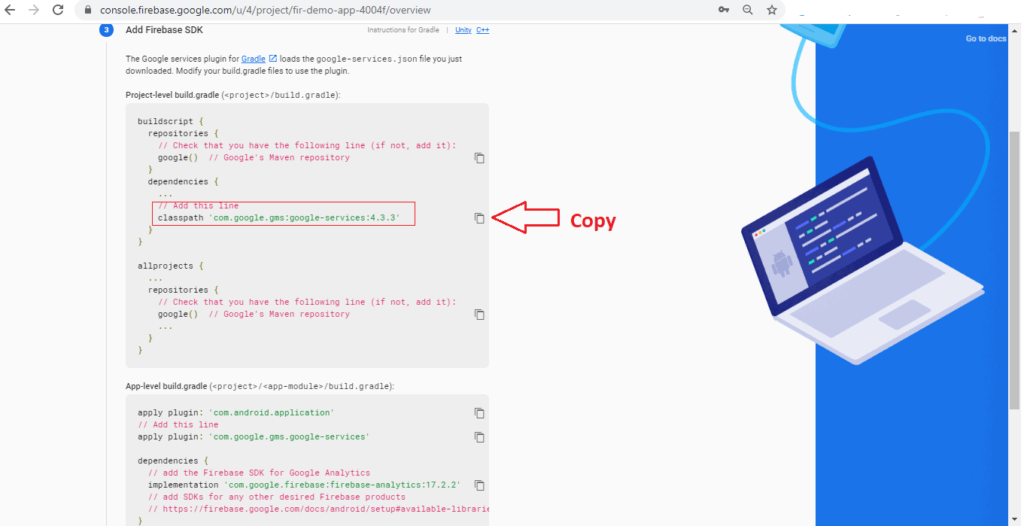
- The oldest way to add the classpath
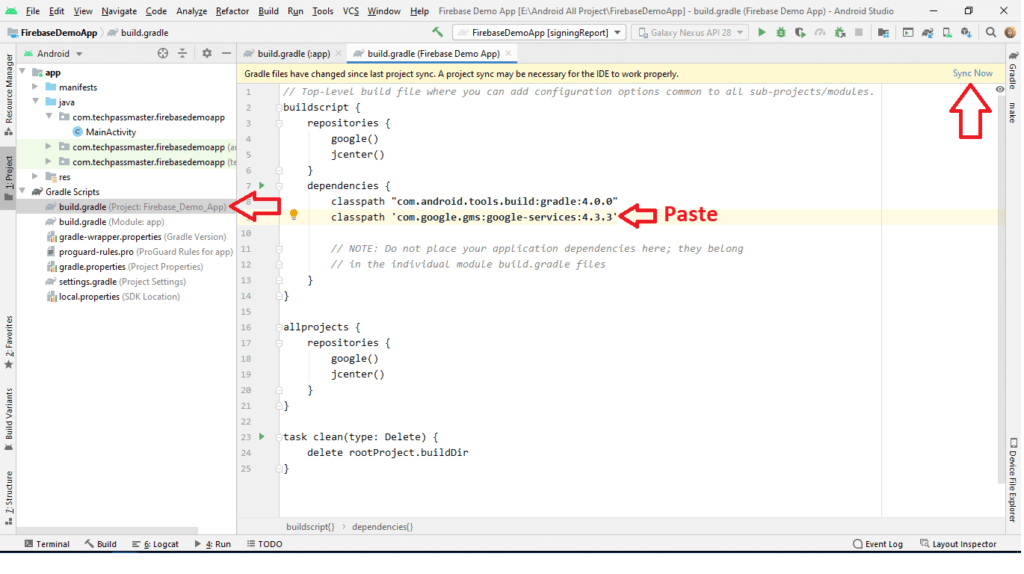
- The latest way to add the classpath
Step 9. Apply the Google Services in your module (app-level) Gradle file.
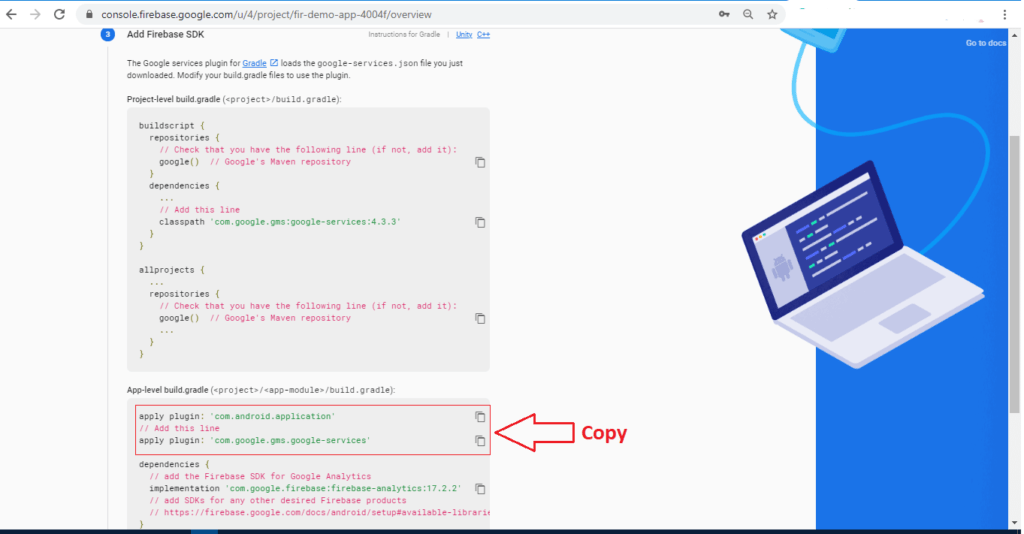
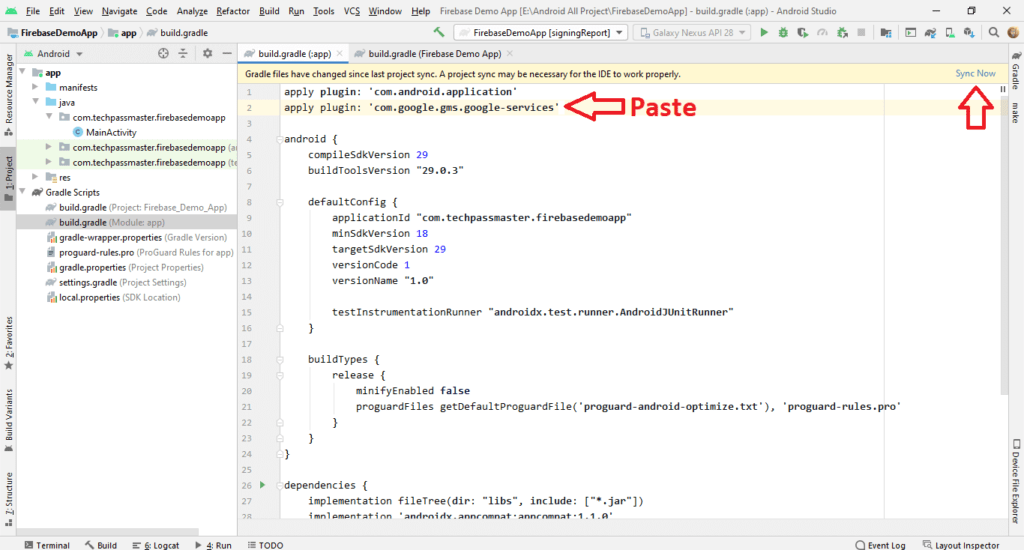
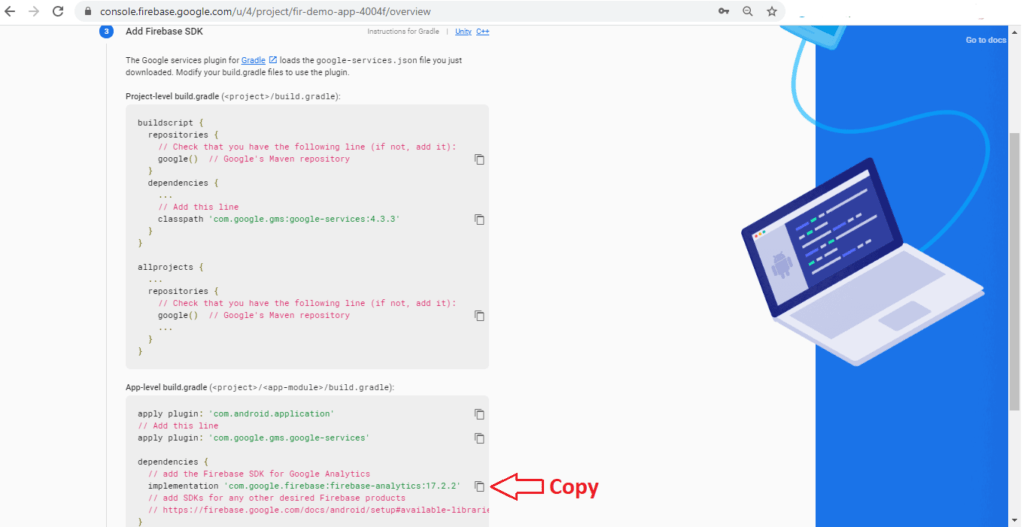
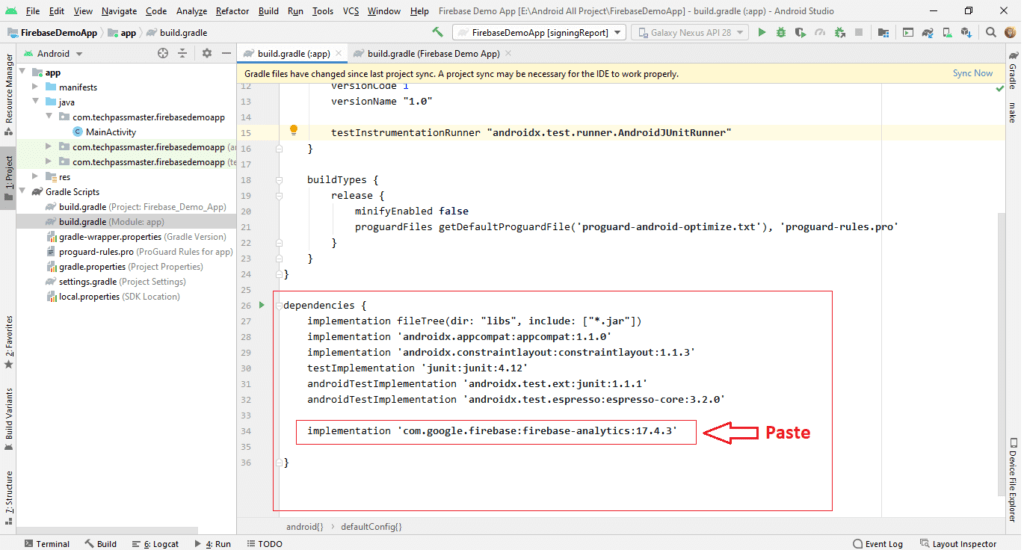
Step 10- Add dependencies on the App-level build.gradle.
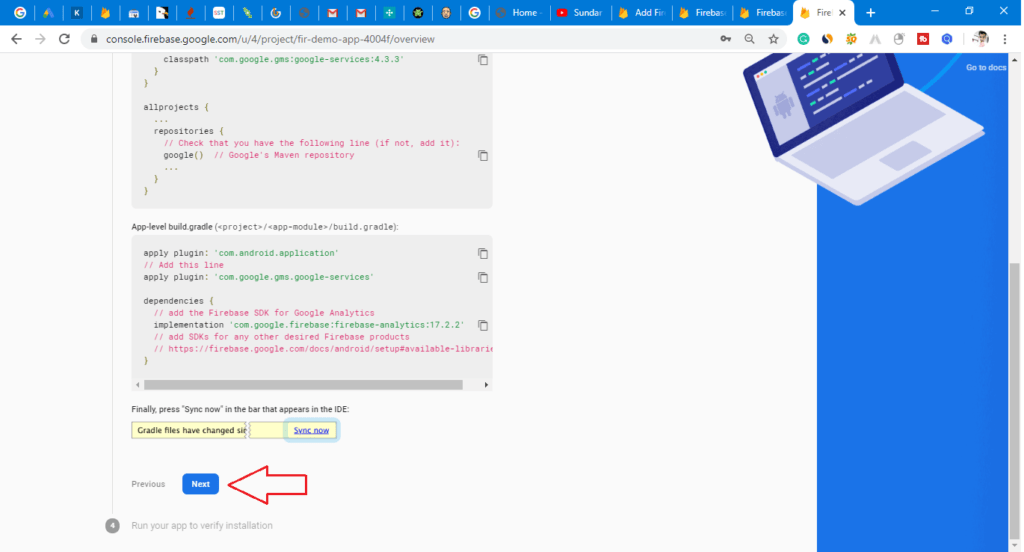
Step 11 – Click Next.
Step 12 – Set up a physical device or you can use an emulator to run your app to verify the installation.
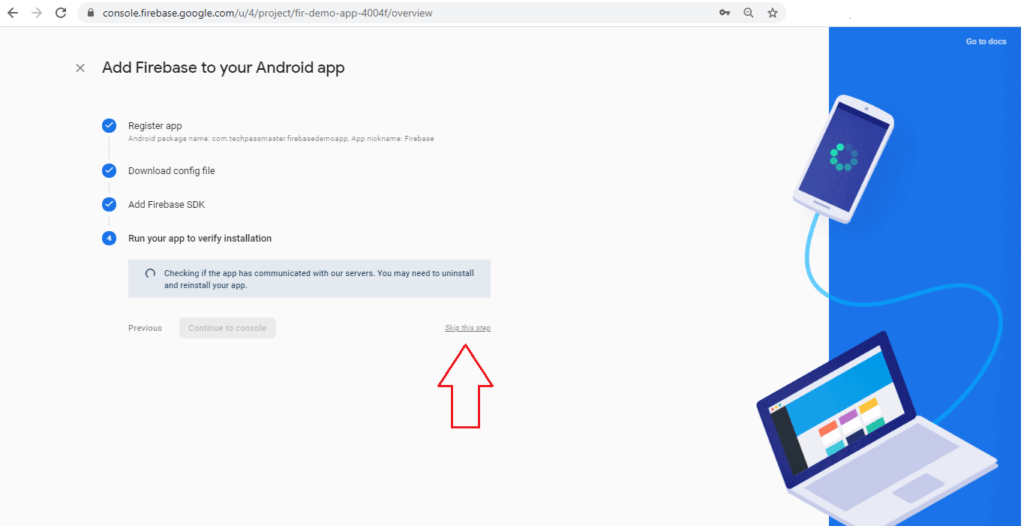
Step 13 – All setup is done. As you can see the Firebase console dashboard.
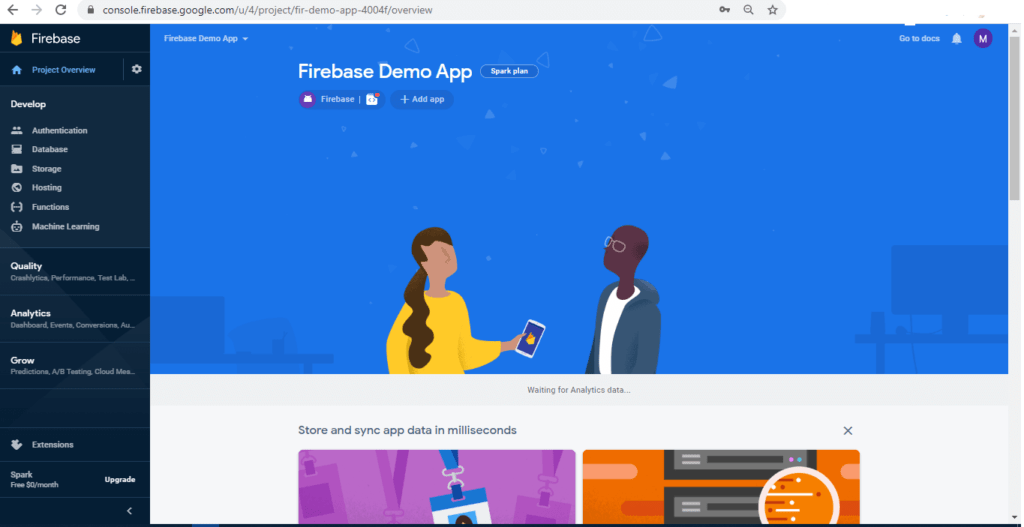
Congrats! You’ve completed adding Firebase to your Android project.
Must Read:
- Install & Setup Android Studio, Java JDK & SDK.
- Firebase Authentication With Custom User Fields In Android
- Android Working With Firebase – Signup And Login Auth
In the featured tutorial, we will see how we can add Firebase service to the app like:
- Set up to check user behavior with Analytics.
- Set up a user authentication flow with Authentication.
- Setup database to Store data such as user information with Realtime Database & Cloud Firestore. As well as how to Store files, like photos and videos, with Cloud Storage.
- Send Firebase push notifications with Cloud Messaging.
- Set Up Crashlytics to find out when and why your app is crashing.
- More.
Hurrah, that’s what I was exploring for,
what a information! present here
at this website, thanks admin
of this website.
welcome:)
Attribute android:hardwareAccelerated is not allowed here,Attribute android:exported is not allowed hereUnresolved class ‘MainActivity’Attribute android:launchMode is not allowed hereAttribute android:theme is not allowed hereAttribute android:configChanges is not allowed hereAttribute android:windowSoftInputMode is not allowed hereUnresolved class ‘MyFirebaseMessagingService’Attribute android:exported is not allowed here,…. i have these errors in my mainfest xml files